Quick Fixes for Increasing Shower Water Pressure
- Turn Off Appliances
How other appliances affect shower water pressure:
Household appliances such as dishwashers, washing machines, and even kitchen faucets can significantly impact your shower’s water pressure. When multiple devices are using water at the same time, the available water splits between these sources, leading to reduced flow in the shower. This common scenario often results in weak or inconsistent water spray.
Tips on managing household water use during showers:
To optimize your shower experience, consider implementing the following strategies:
- Schedule Your Activities: Plan your showers when major water-consuming appliances aren’t in use. For example, avoid running the dishwasher or washing machine while taking a shower.
- Educate Household Members: Inform everyone in your home about the importance of not using high-demand appliances during someone’s shower time.
- Install Water-Saving Fixtures: Equip sinks and other areas with low-flow fixtures to reduce overall household water usage.
- Use Washing Machines Efficiently: Opt for full loads in your washing machine instead of frequent smaller loads, which helps reduce simultaneous water demand.
Additional Tip:
Turning off unnecessary faucets can also help maintain better water pressure during showers. Simple habits like these can make a noticeable difference in your daily routines.
By managing the simultaneous usage of various appliances and reducing overall water consumption, you can effectively boost your shower’s water pressure without making significant changes to your plumbing system. However, if you continue to experience low water pressure despite these efforts, it may be worth investigating potential leaks in your plumbing system. In such cases, professional assistance can be invaluable in identifying and rectifying these issues. We recommend using our services to ensure the problem is properly addressed.
- Shower During Off-Peak Hours
Timing your shower to avoid peak water usage times can be an effective quick fix for shower pressure problems. When fewer people are using water simultaneously, the available pressure increases, resulting in a better shower experience.
Benefits of Timing Your Shower:
- Improved Water Pressure: Reduced simultaneous usage means more pressure directed to your shower.
- Energy Savings: Lower demand on hot water systems can lead to energy savings.
Identifying Off-Peak Times:
- Early Mornings and Late Nights: Typically, these are the best times as most households use less water.
- Local Patterns: Check community trends or consult with neighbors to determine when water demand is usually lower.
By optimizing your shower schedule around off-peak hours, you can effectively boost water pressure without any complex adjustments. This simple adjustment allows you to enjoy a stronger and more consistent flow, making it a practical solution until more permanent measures are implemented.
- Check Valves
Ensuring all plumbing valves are fully open is crucial for maintaining optimal water pressure in your shower. Partially closed valves can restrict water flow, causing low-pressure issues.
Steps to Inspect and Adjust Valves:
- Locate Main Water Valve: Typically found near the water meter, this valve controls the flow of water into your home.
- Ensure Full Opening: Turn the valve counterclockwise until it is fully open.
- Check Internal Valves: Inspect other valves within your plumbing system, including those near the water heater and under sinks.
- Adjust as Needed: Ensure these internal valves are also fully open to prevent any unnecessary flow restriction.
These quick fixes for shower pressure problems offer immediate relief by addressing potential blockages in your plumbing system. They act as temporary measures, reducing simultaneous usage and helping you understand how to turn water pressure up in the shower before considering more permanent solutions. Regular inspection of plumbing valves contributes to sustained and efficient water usage.
- Unclog and Replace Showerhead
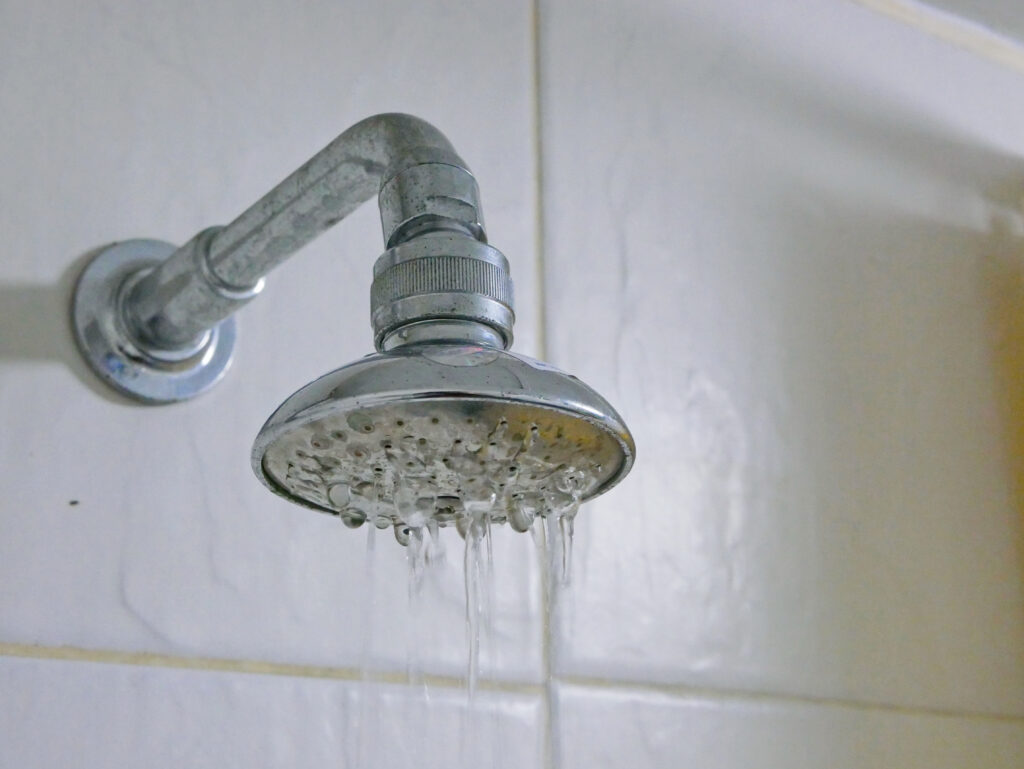
Quick fixes for shower pressure problems often involve addressing mineral buildup that can hinder water flow through the showerhead. Regular cleaning can reduce this issue, providing immediate relief and potentially delaying the need for more permanent solutions.
How mineral buildup affects water flow:
- Over time, minerals like calcium and lime can accumulate in your showerhead.
- These deposits clog the tiny holes, reducing water pressure significantly.
- This problem is common in areas with hard water.
Instructions for cleaning the showerhead with vinegar:
- Remove the showerhead from the pipe.
- Fill a bowl or plastic bag with white vinegar.
- Submerge the showerhead in the vinegar and let it soak for several hours or overnight.
- Rinse it thoroughly with water and use a brush to scrub off any remaining deposits before reattaching it.
If cleaning doesn’t improve water pressure, consider replacing the showerhead:
- Choose a model designed to enhance water flow efficiency.
- Look for units labeled as “high-pressure” to ensure better performance.
By addressing these quick fixes, you can effectively enhance your shower experience without immediately resorting to more extensive measures.
Long-Term Solutions for Sustaining Water Pressure
- Inspect and Replace Pipes
Impact of Old or Damaged Pipes on Water Pressure
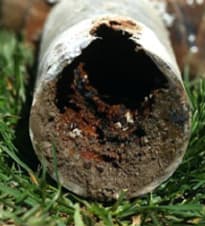
Old, corroded pipes can drastically affect your shower’s water pressure. When pipes age, they may corrode, causing internal buildup that restricts water flow. This can result in reduced water pressure not just in your shower but throughout your home. Upgrading to modern piping materials like PEX or copper can significantly enhance water flow.
Signs That Indicate a Need for Pipe Replacement or Upgrade
Identifying when pipes need replacement is crucial. Look out for:
- Frequent Leaks: Persistent leaks are a clear signal that the pipes are deteriorating.
- Discolored Water: Brown or rusty water indicates corrosion within the pipes.
- Low Water Pressure: Consistently low pressure across multiple fixtures suggests that the pipes may be clogged or too narrow.
Proactively addressing these signs can help maintain optimal water pressure and prevent more costly repairs down the line.
Transitioning to newer piping systems is one of the most effective long-term solutions for shower pressure problems. Investing in plumbing upgrades ensures a consistent and strong water flow, improving your overall shower experience.
- Install a Shower Pump
A shower pump is an effective long-term solution for shower pressure problems. By boosting water flow, it ensures consistent pressure during showers.
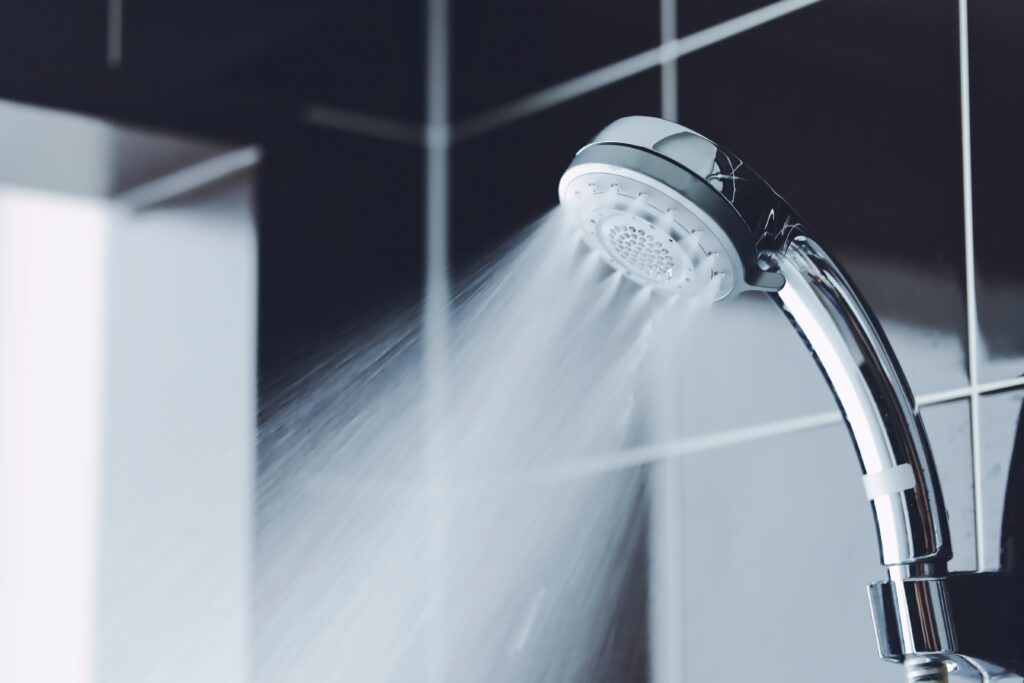
How a Shower Pump Works:
- Utilizes an impeller to increase water pressure before it reaches the showerhead.
- Activates when the shower is turned on, maintaining steady water flow.
Factors to Consider:
- Compatibility: Ensure your existing plumbing system can support a shower pump.
- Space: Verify you have enough space for installation.
- Professional Assistance: Hiring a professional plumber for proper installation is recommended.
A shower pump can be a valuable investment, offering durable solutions to persistent low water pressure issues in showers. For those considering this option, it’s wise to consult with professionals who can provide guidance and assistance. You might want to check out our privacy policy for more information about the services and how we ensure the protection of your information.
- Use Electric Showers or Power Showers
Electric showers and power showers offer effective long-term solutions for shower pressure problems. These systems come with built-in pumps that ensure a high-pressure spray, regardless of the main supply’s strength.
Advantages:
- Consistent Water Pressure: Both electric and power showers maintain consistent water pressure by using their internal pumps.
- Temperature Control: Electric showers heat water on demand, providing a steady temperature during your shower.
- Efficiency: Power showers efficiently mix hot and cold water supplies to deliver a satisfying experience.
Considerations:
- Energy Efficiency: Look for models with high energy efficiency ratings to minimize electricity consumption.
- Ease of Installation: Some systems may require professional assistance for installation due to compatibility issues with existing plumbing.
Investing in these systems can provide lasting results, especially if you’re dealing with persistent low water pressure issues.
- Flush Water Heater Annually
Sediment buildup in your hot water tank can significantly affect both hot water availability and overall plumbing performance. This accumulation can lead to fluctuating temperatures and reduced flow rates, impacting your shower experience.
Effects of Sediment Accumulation
- Reduced Efficiency: Sediments act as an insulator, making it harder for the heater to warm the water.
- Fluctuating Temperatures: Hot water may be inconsistent, leading to an unsatisfactory shower experience.
- Lower Water Pressure: Accumulated debris can clog pipes, resulting in decreased water flow.
Step-by-Step Guide to Flushing Your Water Heater
- Turn Off the Heater: Switch off the power source (electricity or gas).
- Connect a Hose: Attach a garden hose to the drain valve at the bottom of the tank.
- Drain the Tank: Open the drain valve and allow water to flow out through the hose into a suitable drainage area.
- Flush with Cold Water: Close the drain valve, remove the hose, and turn on cold water supply for a few minutes to flush out remaining sediments.
- Refill and Restart: Close all valves, refill the tank, and turn on the heater.
Regularly flushing your hot water tank ensures optimal operation throughout its lifespan, addressing persistent low-pressure issues effectively. This long-term solution may require professional assistance but offers lasting results, especially if combined with other plumbing upgrades such as replacing corroded pipes.
In some cases, persistent low-pressure issues might also be due to trapped air in your plumbing system. It’s essential to consider eliminating air pockets as part of your plumbing maintenance routine. If you encounter significant plumbing problems or suspect leaks, seeking help from professionals, we can provide you with efficient solutions such as leak detection and plumbing repairs.
Monitoring Your Shower’s Performance Over Time: A Key Aspect Of Maintaining Optimal Water Pressure Levels In Your Bathroom Space!
Regular monitoring is crucial for maintaining good-quality output from all fixtures, including your shower and taps. Consistent water pressure ensures a satisfying shower experience and helps identify potential issues before they become major problems.
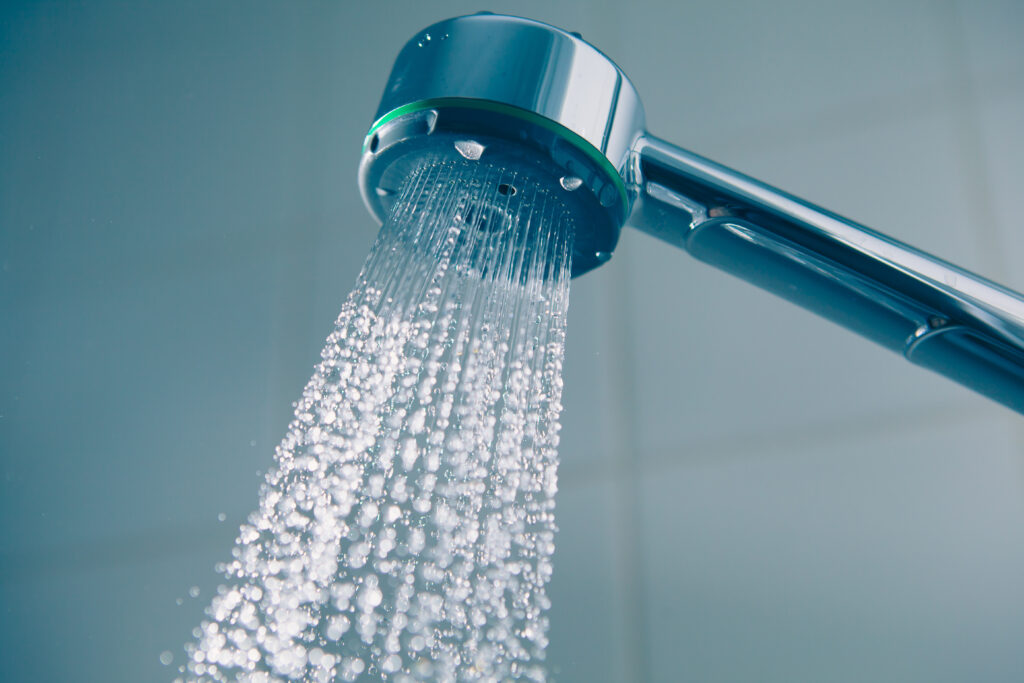
Tools and Techniques for DIY Monitoring
You don’t need specialized equipment to monitor your bathroom system’s performance. Basic knowledge and skills can help you keep track of your water pressure:
- Flow Rate Testing: Measure the flow rate by timing how long it takes to fill a 5-gallon bucket. Compare this with standard benchmarks (e.g., low-flow showerheads should not exceed 1.5 GPM).
- Visual Inspections: Regularly check for leaks, corrosion, or any unusual changes in water color or pressure.
- Pressure Gauges: Using a simple pressure gauge on your showerhead can provide immediate feedback on current water pressure levels.
- Listening for Noises: Strange sounds like banging or hissing can indicate underlying issues in the plumbing system.
Consult A Professional Plumber If All Else Fails!
Sometimes, DIY solutions aren’t enough to solve water pressure issues. Knowing when to call an expert can save you time and prevent further damage.
Conclusion: Take Action Now To Enhance Your Shower Experience!
Investing time and resources into boosting your shower’s water pressure pays off in multiple ways. Improved water pressure provides an immediate upgrade to your daily routine, making showers more enjoyable and efficient. Additionally, this home improvement project adds long-term value to your property, enhancing its overall functionality and comfort levels.
However, before diving into these solutions, it’s crucial to ensure that there are no underlying issues like mold which could complicate the process. For instance, conducting a mold test can help identify any hidden problems that need addressing. Once these issues are resolved, you may want to consider a Post Remediation Verification to ensure the remediation was successful.


